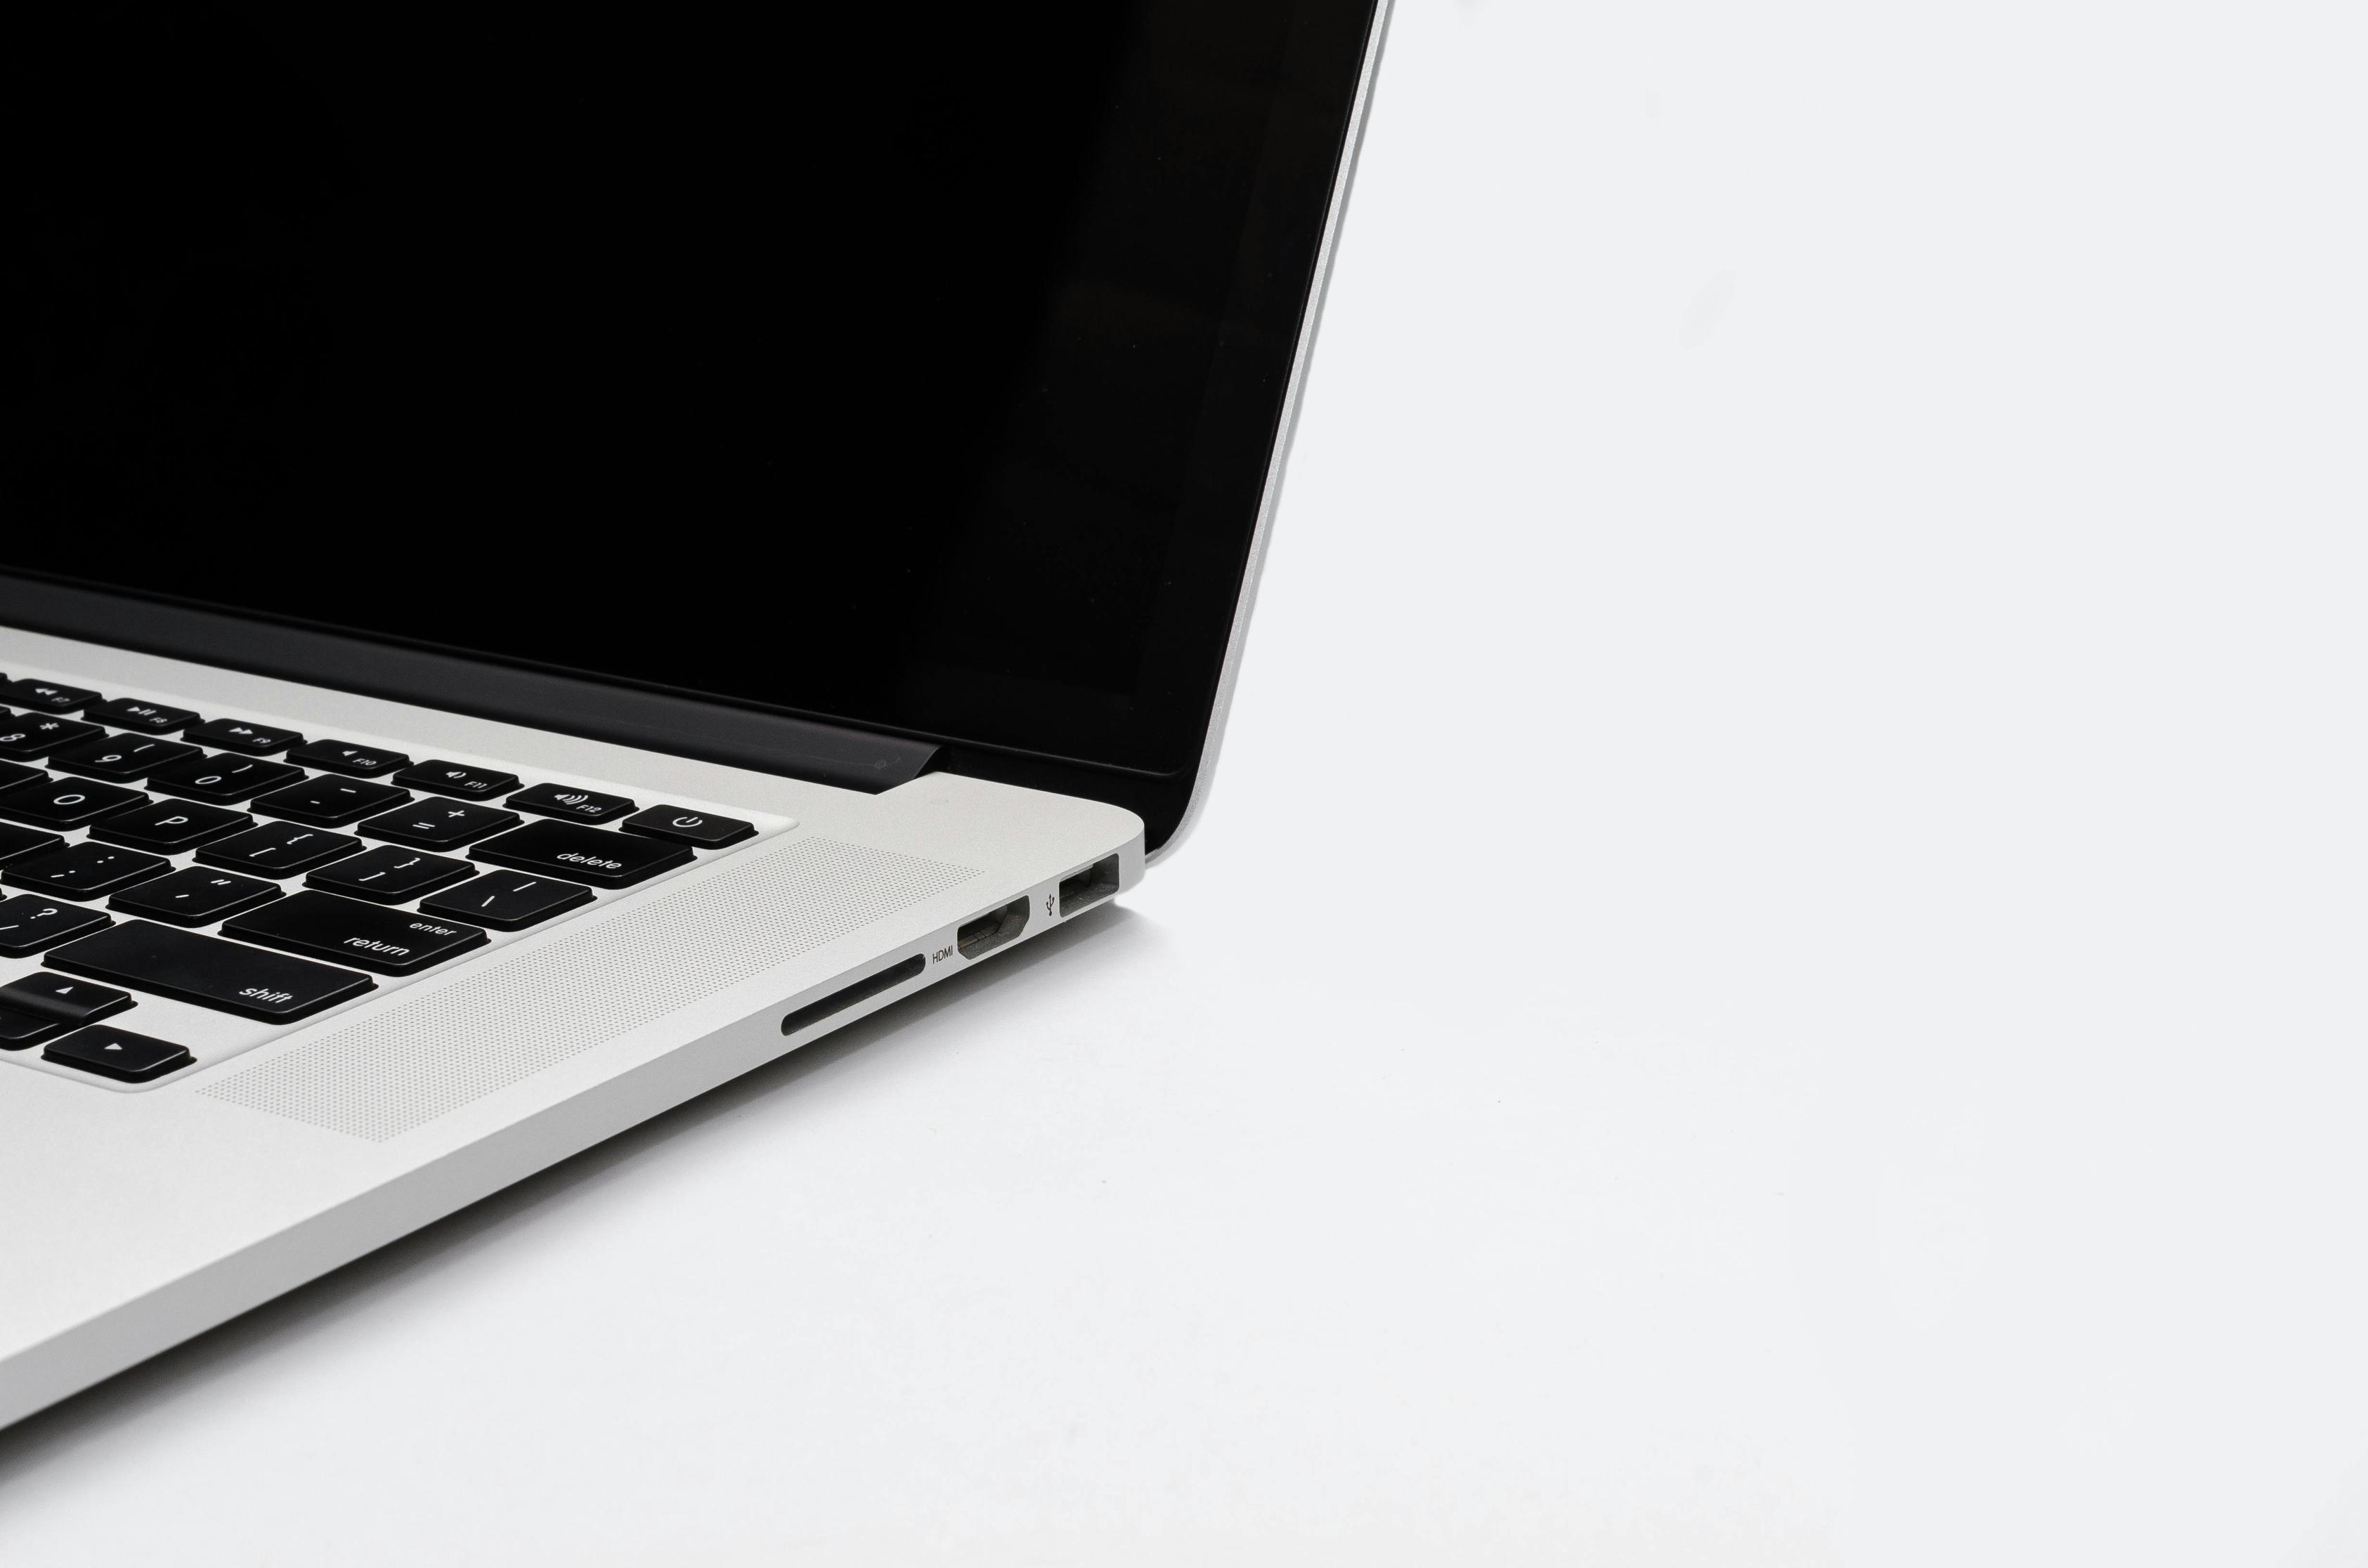
How to Clean a Mac Keyboard: The Ultimate Guide for 2024
Introduction
A clean Mac keyboard offers more than just aesthetic appeal. It enhances your typing experience, reduces wear and tear, and extends your keyboard's life. Regular cleaning can prevent the accumulation of dirt and grime that could interfere with key function. This guide will walk you through the best practices for keeping your Mac keyboard spotless and fully functional.

Importance of Cleaning Your Mac Keyboard
Dirt, dust, and other debris can gradually build up on and under your keys, impacting performance. A dirty keyboard can harbor bacteria and viruses, posing health risks, especially in shared environments. Keeping your keyboard clean ensures optimal performance, hygiene, and extends the longevity of the device. Regular cleaning sessions also make your keyboard look well-preserved and more professional.
Preparing for the Cleaning Process
Before diving into the cleaning process, gather all the necessary materials:
- Compressed air
- A soft microfiber cloth
- Isopropyl alcohol (70% or higher)
- Soft brush
- Keycap removal tool (for deep cleaning)
Start by powering down your Mac or disconnecting the keyboard to avoid any unintentional keystrokes. Lay a soft cloth or towel beneath the keyboard to catch debris and prevent damage.
Surface Cleaning the Keyboard
Surface cleaning is the first step in maintaining your Mac keyboard. Follow these steps:
-
Dust Removal: Use compressed air to blow out loose dirt and dust between the keys. Hold the can at an angle and spray in short bursts to avoid condensation.
-
Wiping Down: Dampen a microfiber cloth with a small amount of isopropyl alcohol, ensuring it’s not overly wet. Gently wipe down the keyboard surface, focusing on the top and sides of the keys.
-
Brush Cleaning: For stubborn dirt, use a soft brush to dislodge debris between the keys. Be gentle to avoid damaging the key mechanisms.
-
Final Dry Wipe: Finish by wiping the keyboard again with a dry microfiber cloth to remove any residual moisture and polish the surface.
Maintaining this basic cleaning routine can keep your keyboard in excellent condition and prevent minor dirt buildup from becoming a significant issue.

Deep Cleaning and Keycap Removal
When surface cleaning isn’t enough, a deep clean, including keycap removal, might be needed to tackle grime beneath the keys.
-
Removing Keycaps: Using a keycap removal tool, gently pry off each keycap. Be cautious with larger keys like the spacebar, which may have additional support mechanisms.
-
Cleaning Beneath the Keys: With the keycaps removed, blow compressed air to clear out debris. Use a soft brush if necessary to remove any remaining particles gently.
-
Detail Cleaning: Dip a cotton swab in isopropyl alcohol (not soaked) and clean the area beneath the keycaps. This helps to remove grime that compressed air might miss.
-
Reattaching Keycaps: Once the area is clean and dry, carefully reattach each keycap. Ensure each keycap snaps back in place properly to avoid any loose keys.
Deep cleaning should be performed sparingly since frequent removal of keycaps may wear out their snaps and connectors.

Specific Tips for Different Mac Keyboard Models
Different Mac keyboards require slightly different techniques for effective cleaning.
Cleaning MacBook Built-in Keyboards
MacBook keyboards require a bit more care due to their integrated design. Follow these tips:
- Angle and Spray: Hold your MacBook at a 75-degree angle and spray compressed air from left to right and top to bottom using short bursts.
- Minimal Moisture: Avoid using excessive moisture as it can seep into the keyboard and damage internal components. A lightly damp microfiber cloth should suffice.
- Edge Focus: Pay special attention to the edges of each key, where dirt often accumulates the most.
Cleaning Apple Magic Keyboards
Apple Magic Keyboards can be disconnected for easier handling. Here are some tailored tips:
- Unplug and Power Down: Always disconnect and power down your wireless keyboard before cleaning.
- Surface to Deep Clean: Follow the surface cleaning method first and proceed with keycap removal if needed. These keyboards are generally easier to handle outside the confined space of a laptop.
- Battery Care: If your Magic Keyboard uses replaceable batteries, remove them before cleaning to avoid any electrical mishaps.
Preventative Maintenance Tips
Regular maintenance can stave off major cleaning sessions. Here’s how:
- Regular Dusting: Use a can of compressed air to remove dust once a week.
- Avoid Eating: Keep food and drinks away from your keyboard to prevent crumbs and spills.
- Cover It Up: Consider keyboard covers that can be easily removed and cleaned, providing an extra layer of protection.
Conclusion
Cleaning your Mac keyboard doesn’t have to be a daunting task. By following these guidelines, you can maintain a pristine, fully functional keyboard. Regular maintenance not only keeps your keyboard looking great but also ensures it operates smoothly. Remember, a clean keyboard is a happy keyboard.
Frequently Asked Questions
Can I use water to clean my Mac keyboard?
No, water can seep into the keyboard and cause damage to the electrical components. It's safer to use isopropyl alcohol, which evaporates quickly, or a dry cloth.
How often should I clean my Mac keyboard?
Surface clean your keyboard weekly and perform a deep clean every few months, depending on usage. More frequent cleaning might be necessary for shared or high-traffic areas.
What should I do if a key is stuck after cleaning?
If a key is stuck, try removing the keycap again to ensure no debris is caught underneath. Reattach it firmly. If the issue persists, consult Apple support or a professional technician.


